
Introduction of GIMP tutorial
 | |
 |
| well after the loading of GIMP was done. your gimp should be look like this. now, how can we import some pics and edit it? |

this is the shortcut's way of how to import picture to gimp and edit it at the same time. JUST GO TO YOUR FOLDER WHERE YOUR PICTURE LOCATE AT (E.g : My Pictures) and after that CHOOSE THE PICTURE THAT YOU WANT TO EDIT. and drag the picture by using your cursor until to your gimp blank layer.

here is the another option for importing pictures in gimp
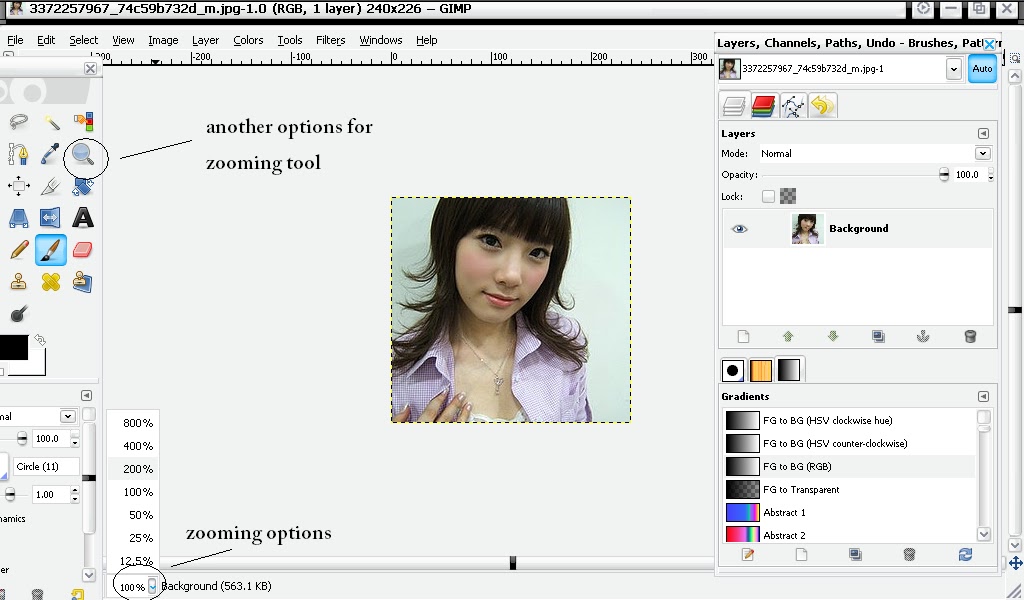
now the picture was been import to gimp. now i wanted to zoom the picture as well. so i can edit clearly . there are 2 options for zooming the picture. one is at the left bottom , as you can see the picture above. and the other one is at the tool box. that is the zooming tool.

voila! now my picture was zoom up until 200%, FYI you can zoom your picture in any sizes you want.

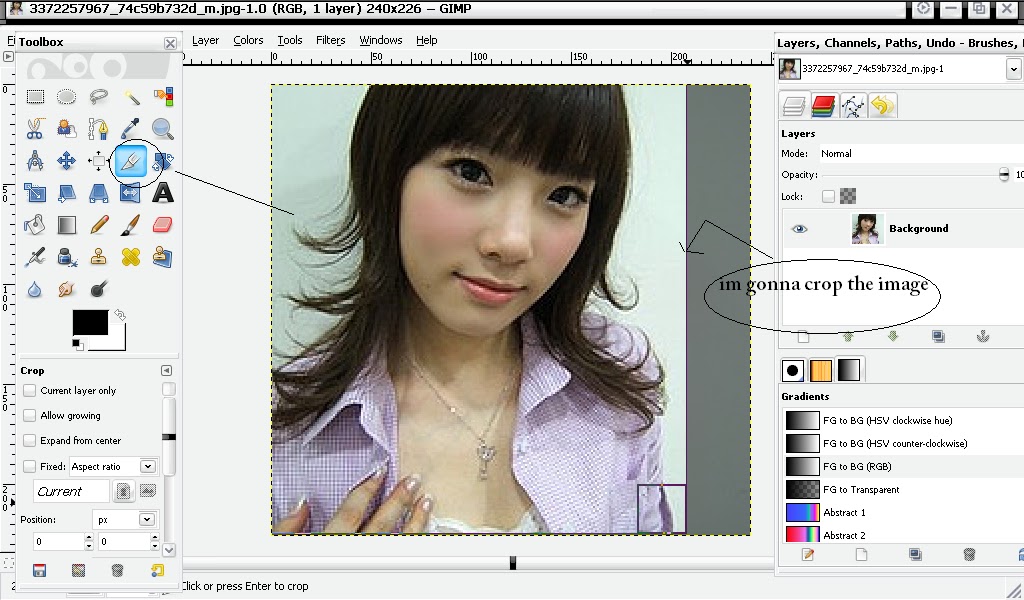
now i wanted to crop the picture, here is the cropping tool

Lets adjust the Color of this picture, u can adjust the color of this image by using those options of the image.

before and after


Choose the Rectangle Select tool if u wanna add up more designs for the picture

Choose the Blending tool if u wanna add some color effect

pick some effects from the options. and now i picked FG to Transparerent. u can replace the colors if u dont want the color.


here is how i apply the blending tool. just drag the cursor slant it towards to the box.

here is the result of my blending tool for my box

now i wanted to put some text inside the box. go to the tool options and pick the TEXT TOOL

if u are not contented with the format of the text, u can go the left corner of the tool box and format it.

have u seen this into your channel box? u suppose to see another 2 extra layers in your channel.

well u got to click each of those extra layers. except for the original copy. u should click RIGHT CLICK and then u have to MERGE it down. until the original copy left.

before and after :) now were done. its time for you to save it up.

click FILE and click SAVE or SAVE AS. save it to your desired folder.

now were done! yay! check out for more tutorials to come
keep an eye for it :)